Embossing is a beautiful way to add dimension and elegance to paper products, whether you’re making business cards, invitations, packaging, or craft projects. At Jump, we offer plenty of embossing and debossing services, but have you ever thought of creating your very own custom embossing die? With just a 3D printer and some know-how, you can!
Embossing dies are traditionally made of metal, making them expensive and time-consuming to craft, but you can achieve the same result with a 3D printer and CAD software.
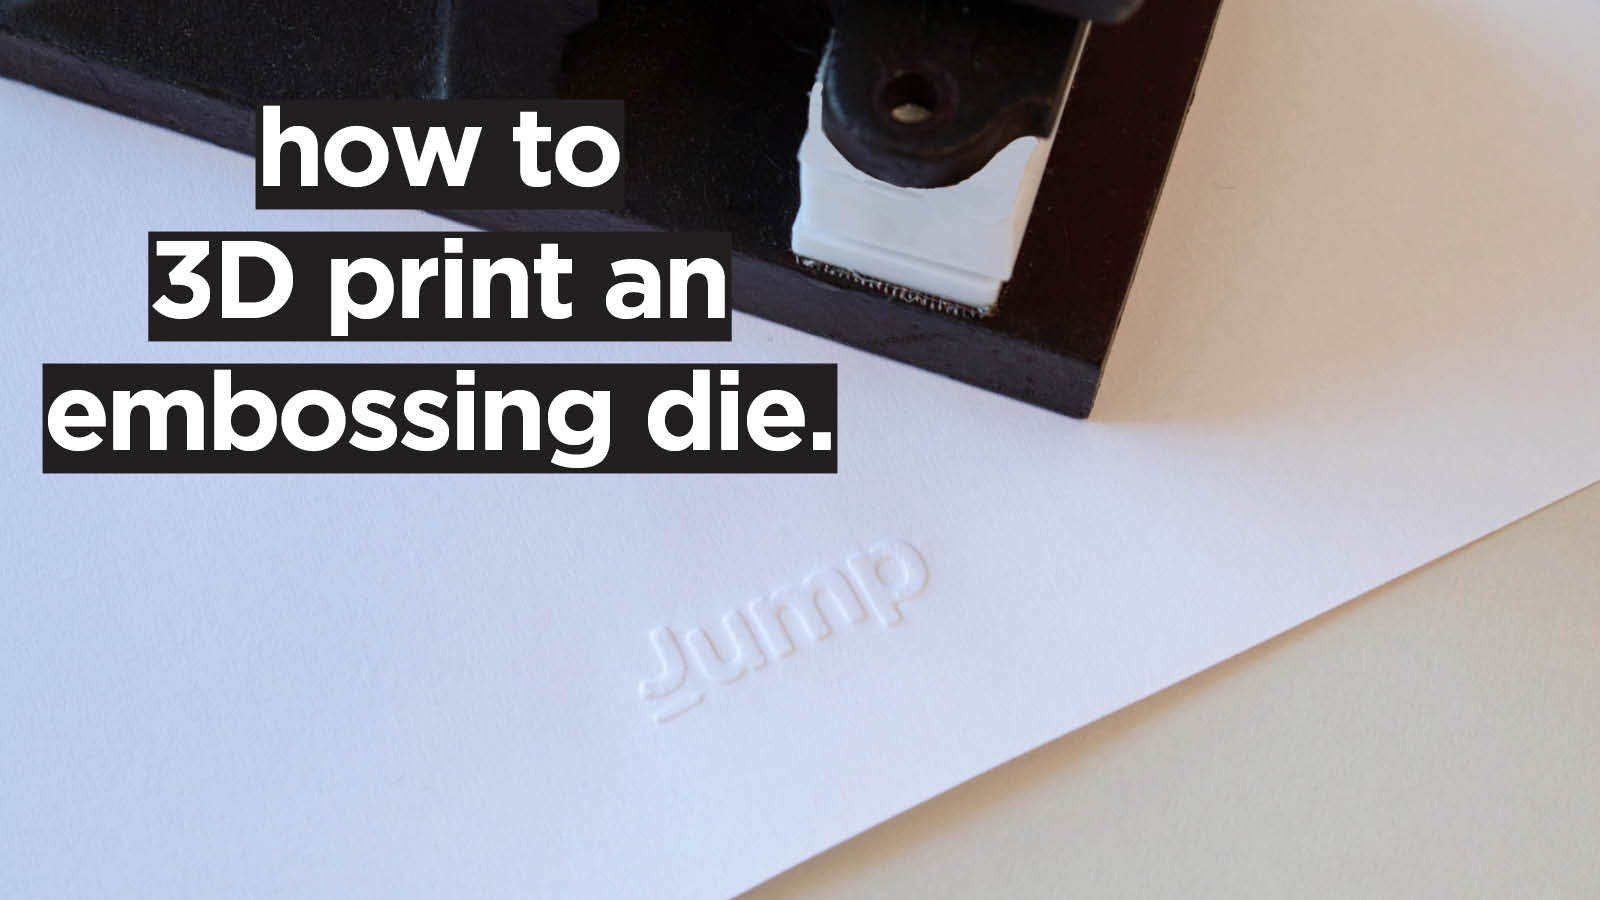
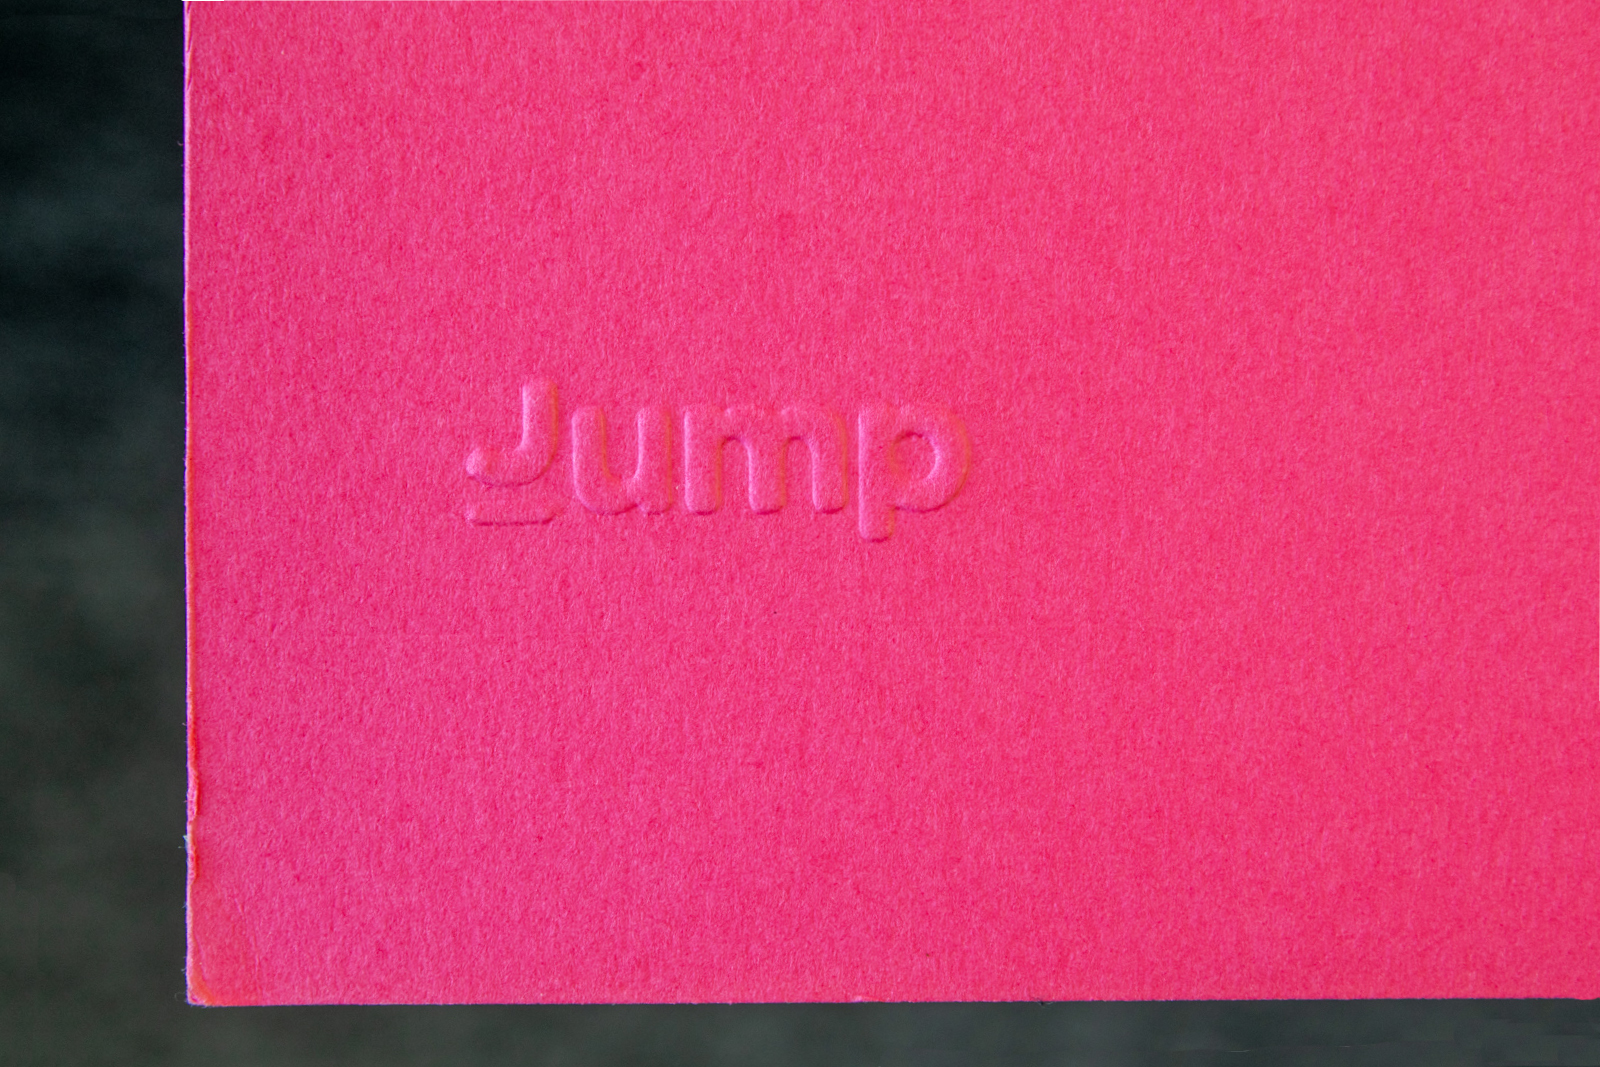
In this tutorial, we will create a matching embossing die set featuring the Jump logo. We’ll use an SVG file for the design, model both the relief and embossed dies in CAD, and then print them on a Bambu Labs A1 Mini using PLA filament. Along the way, I’ll share tips on offsets, tolerances, and filament choices to help you get the best results.
And, before you know it, you’ll be stamping handwritten letters with a monogrammed embossing die like a true Regency noble. Christmas cards have never looked so good.

Tools & Materials
Before getting started on the step-by-step how-to, let’s go over the tools and materials you’ll need to craft your embossing die.
- Software: Any CAD program with sketch + extrude features will do. We suggest using Fusion 360, as it’s free for non-commercial use and private individuals. We will use and refer to Fusion 360 throughout this tutorial.
- 3D Printer: Bambu Labs A1 Mini.
- Filament: We used PLA, but will discuss the pros and cons of other materials later.
- File format: SVG for importing the logo or design.
- Hand embossing machine: We already had a hand embossing machine on hand, but these can also be printed easily. To do so, we recommend this model.
- Callipers: We used them to measure the embossing plates of our embossing machine.
Now that we’ve got everything we need, let’s dive into the step-by-step guide on how to 3D print a custom embossing die.
Step 1 – Create the Die Bases
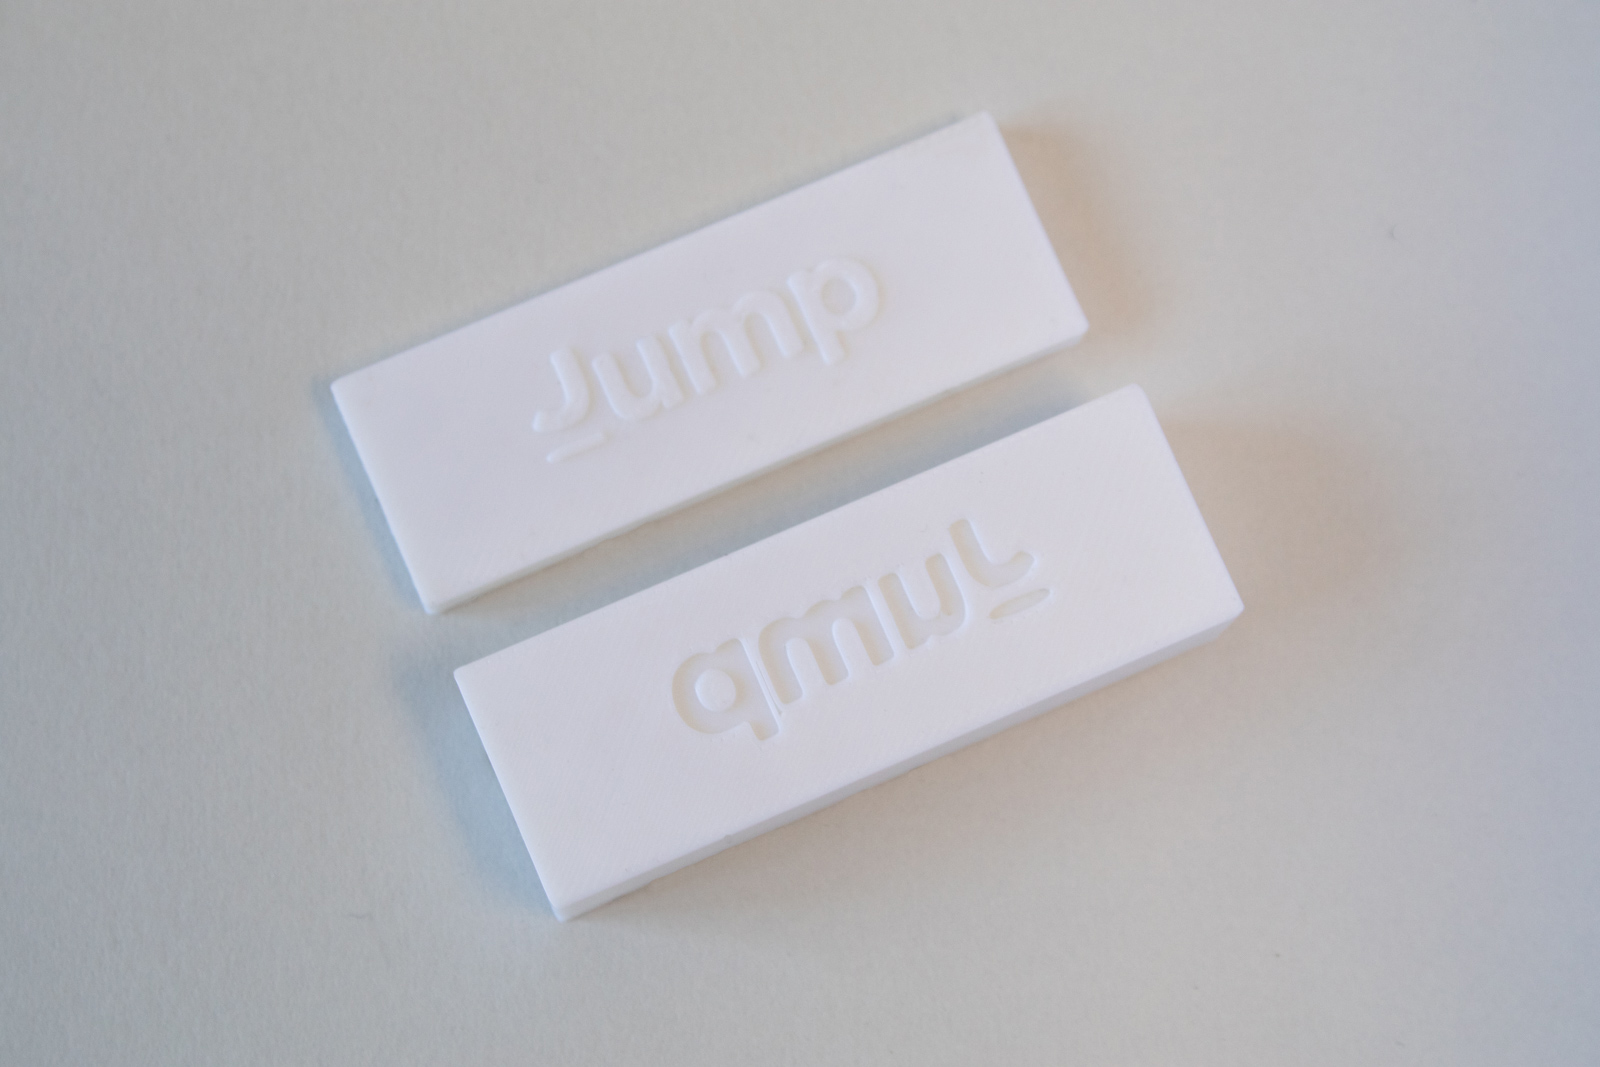
Let’s start by creating the die bases. To do so, you will need two blocks — one for the emboss (positive) and one for the relief (negative). To create them, follow these steps:
- Go to Solid > Create > Box and make a block. This block will need to be the same size as your embossing machine’s previous embossing plates.
- Name this “Lower Die Base.”
- Make another block called “Upper Die Base.”
- Keeping them as separate components ensures they’ll align properly later.
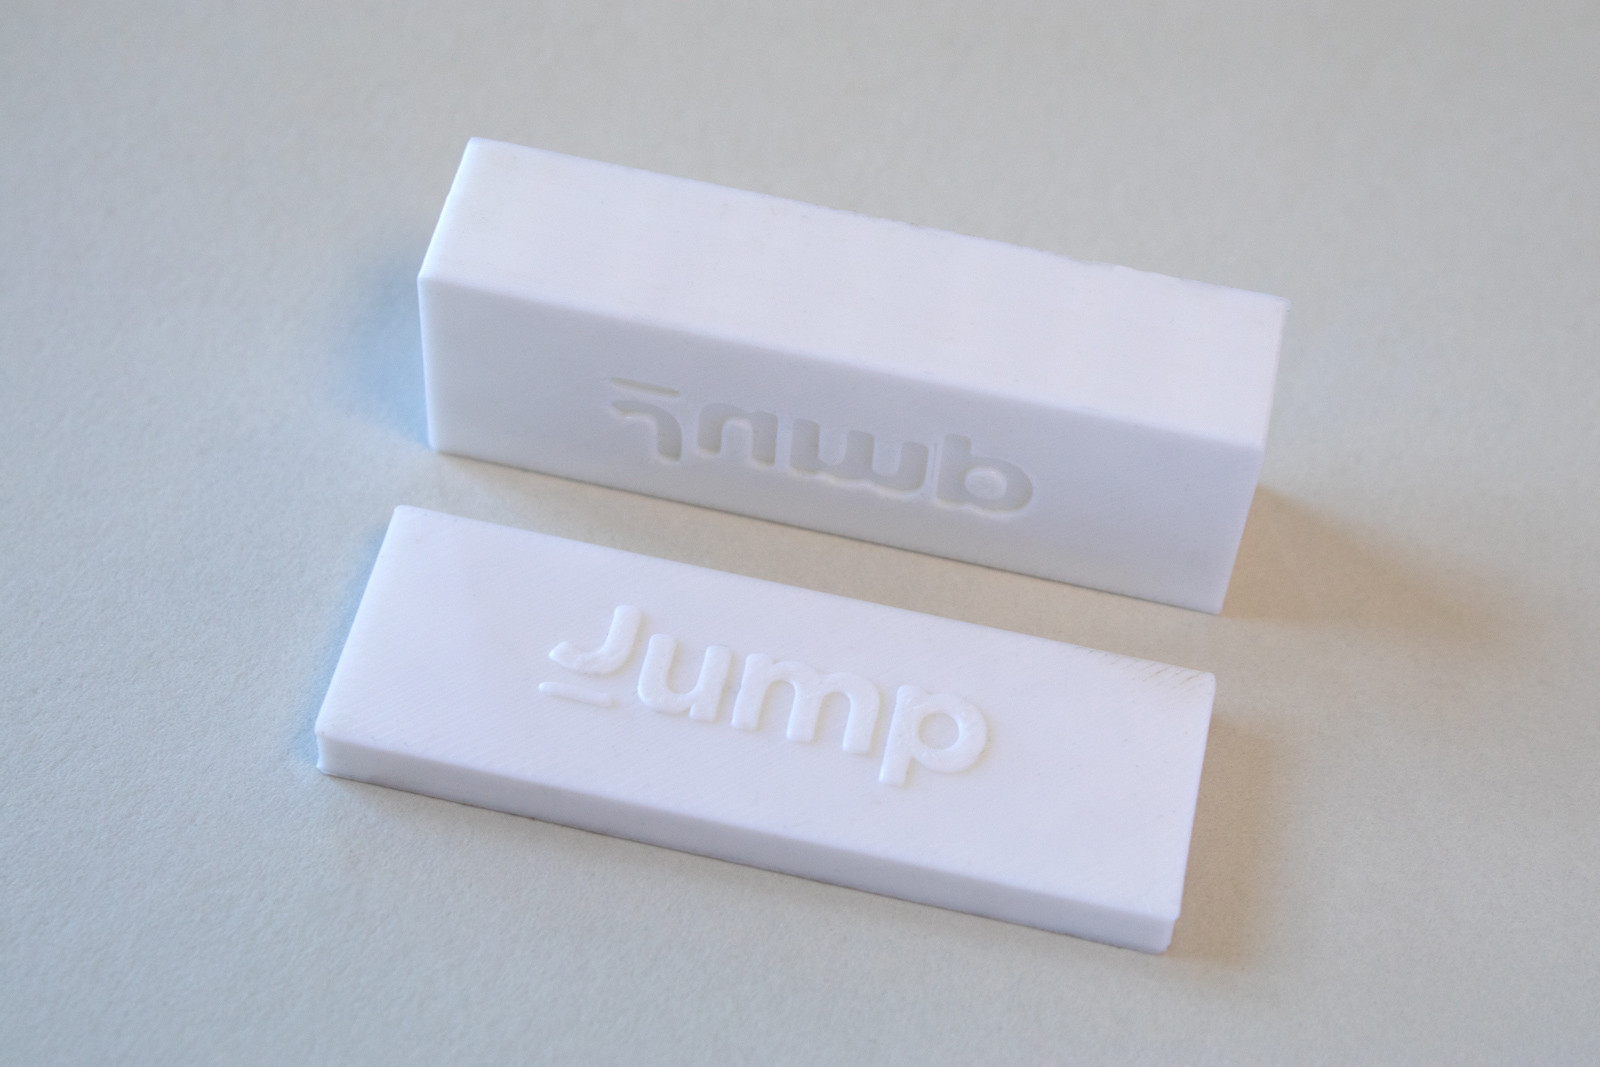
NB: Our “original” embossing blocks were two different sizes — the upper one being 20 x 58 x 13 mm and the lower being 20 x 58 x 5 mm. We decided to keep the same dimensions for our new dies, but you don’t have to. Follow the dimensions of your embossing machine.
Step 2 – Prepare Your Design in CAD
The next step will be to prepare your design in CAD (in our case, Fusion 360). To do so, you will:
- Import your design:
- If your artwork is a vector (SVG or DXF), you can insert it directly into Fusion 360 (Insert > Insert SVG).
- Place it on the flat face of a base block.
- For our project, we imported the Jump logo as an SVG.
- Scale and position:
- Adjust the size of the logo to fit your paper area.
- Centre it on the block for balanced pressure during embossing.
Step 3 – Extrude the Design into Each Die
After importing the design and creating the die bases, it’s now time to extrude the design into each die. In CAD software, to extrude is to take a 2D shape and extend it along a straight path to create a solid, 3D object. Here’s how to do it for both the Lower and Upper Dies.
Lower Die – Embossed (Positive)
- Create a new sketch on the top face of the Lower Die Base.
- Project your design (in our case, the Jump logo) onto the sketch.
- Offset the profile outward by paper thickness (e.g., 0.2 mm). This gap ensures the paper doesn’t tear. Without this offset, the dies act like a cutter instead of an embosser.
- Finish the sketch and extrude upward 1 mm to form the raised embossing surface.
Upper Die – Relief (Negative)
- Create a new sketch on the bottom face of the Upper Die Base.
- Project the same design on this die base as well.
- Do not offset this one! It needs to be an inverse.
- Extrude cut into the block by 1.2 mm (1 mm design depth + 0.2 mm paper offset). This makes the relief cavity slightly deeper so the paper can sit between the two dies without getting sliced.
Step 4 – Align the Dies
Now it’s time to align the dies to make sure they will interlock perfectly when printed. To align them, follow these steps:
- Turn each die body into a separate component.
- Use the As-Built Joint or Align tool to position them face-to-face.
- Add a 0.2 mm paper-thickness gap between the two.
Step 5 – Test Fit with Section Analysis
You’re all done designing your custom emboss die! Before rushing to print, it’s worth checking the fit in CAD:
- Use Inspect > Section Analysis to slice through the model.
- Use Selection Analysis to verify that:
- The designs interlock cleanly.
- There’s a consistent paper gap.
- The upper relief is slightly deeper than the lower emboss.
Step 6 – Export & Print
After ensuring the fit is just right, you can go ahead to export and print your embossing die. Here are the steps to follow:
- Export each die as an STL file.
- Slice and print them on your 3D printer.
- We used a Bambu Labs A1 Mini printer with standard PLA filament.
- Recommended print settings:
- Layer height: 0.12–0.2 mm (for detail).
- Infill: 50% or higher (for strength).
- Orientation: Dies flat on the build plate with embossing detail on the top face.
The dies will then take a few minutes to print. Once printed, attach them to your hand embossing machine and test them out — you’ll see your design embossed!
Pros & Cons of Filament Choices
Now you know how to print an embossing die! To paint a clearer picture of the 3D printing process, it’s worth it to spend some time discussing filament choices — so you know exactly which one will work better for you.
PLA (what we used)
- Pros: Easy to print, affordable, and widely available.
- Cons: Can wear down over time if used repeatedly.
PETG
- Pros: Stronger and more durable than PLA; more heat-resistant and better suited for printing with a heated bed.
- Cons: Issues with stringing and bed adhesion make it trickier to print with.
Resin (SLA/DLP printers)
- Pros: Its composition allows for incredible detail, smoothness, and durability, making it perfect for fine patterns.
- Cons: Compared to filament, it’s quite brittle. It also requires post-processing steps like washing and curing.
Nylon/Carbon Fibre Filaments
- Pros: They create extremely durable and long-lasting dies that weather wear and pressure.
- Cons: They require a hardened nozzle and tuned printer to print correctly.
As a rule of thumb, PLA is best for occasional use. This makes it perfectly fine for the purpose of printing a fancy custom embossing die that will (most likely) not be used daily. On the other hand, it’s worth upgrading to sturdier filaments like PETG, nylon, or resin for repeated use.
Starting with an SVG file, you can extrude it into one die and create the inverse for the other. The result? A perfectly matching embossing die set. The secret is adding a small offset to the relief die: without it, the paper might get cut instead of embossed. With just a little CAD modelling and 3D printing, you too can make professional-looking embossing dies for cards, packaging, and craft projects — completely tailored to your unique design!